Building an Arcade Stick
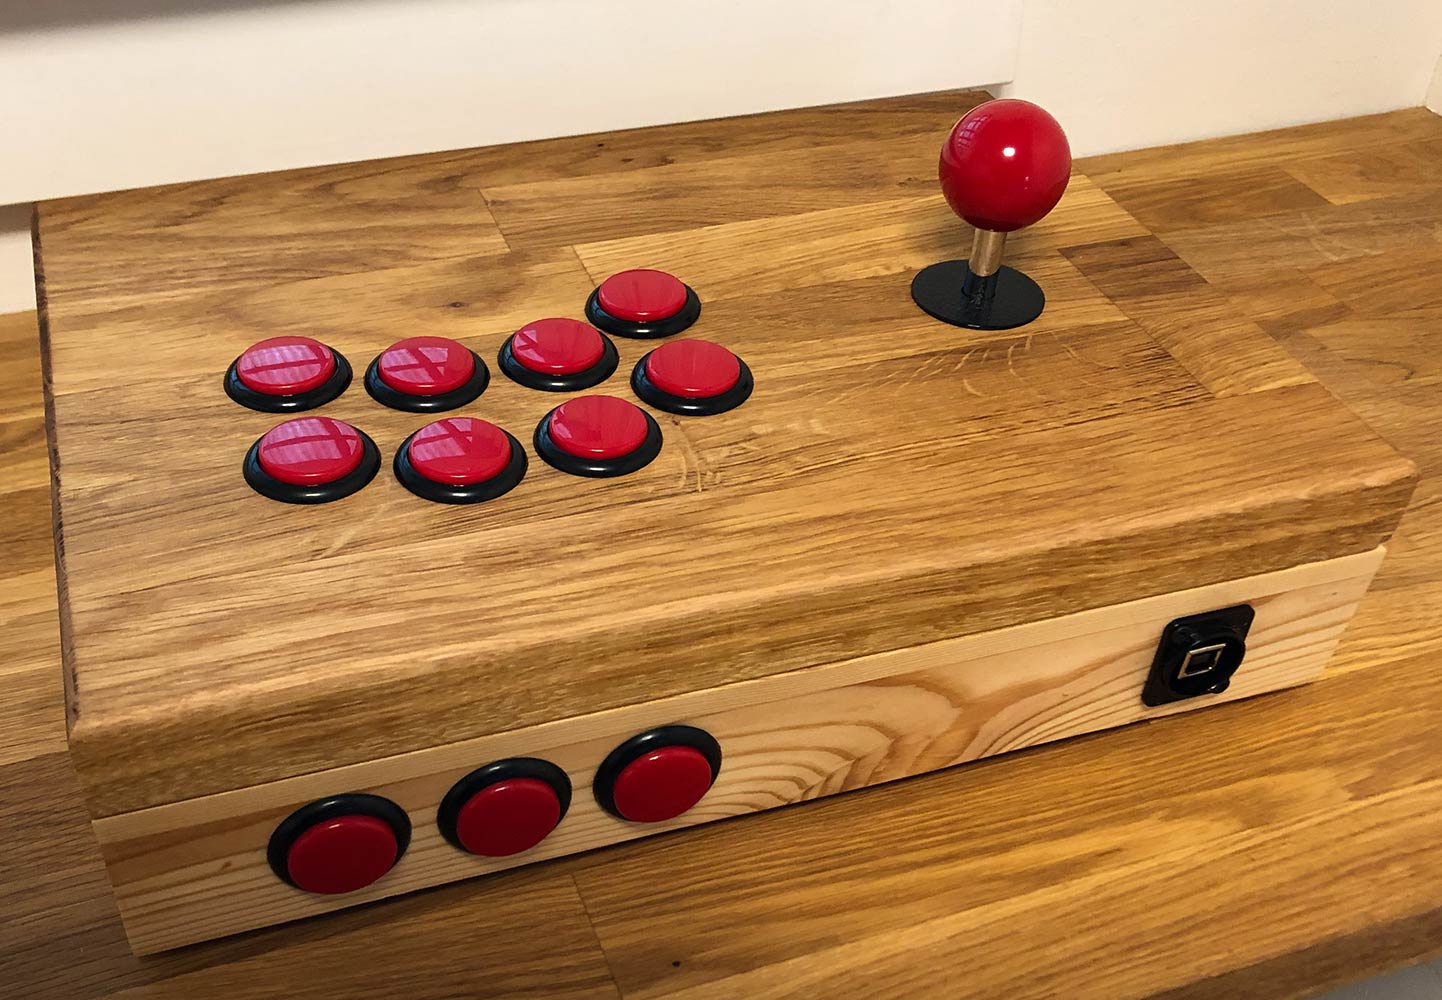
I’ve been into playing games on my RetroPie machine lately and thought it would be cool to build an arcade stick (also called a “fight stick”). Here’s the finished product:
Materials and Components
I had some leftover IKEA oak butcher block from a kitchen project and I thought it would be perfect to use for this (Check out Bamboo Arcade if you you’re looking for a similar build with entirely IKEA materials). I love the look and the feel of this material (like a cutting board) and at 1 1/8-inch thick, it’s super sturdy and solid. Also, it’s easy to treat with mineral oil to make it look nice. For the controls, I decided to go with the Sanwa brand for that super responsive Japanese-style feel. I used the following components:
- Joystick: Sanwa JLF - TP - 8YT Stick 8 Way 5Pin Handle
- Buttons: SANWA 6 Piece Original OBSF-30
- USB Encoder: Reyann Zero Delay Arcade USB Encoder
- USB Port: Neutrik NAUSB-W-B Reversible USB Port
- Rubber Feet: Ace Anti-Skid Pads Black Round 1-1/2 in.
- USB Cable: Tripp Lite Coiled 10 ft. Cable
Build Process
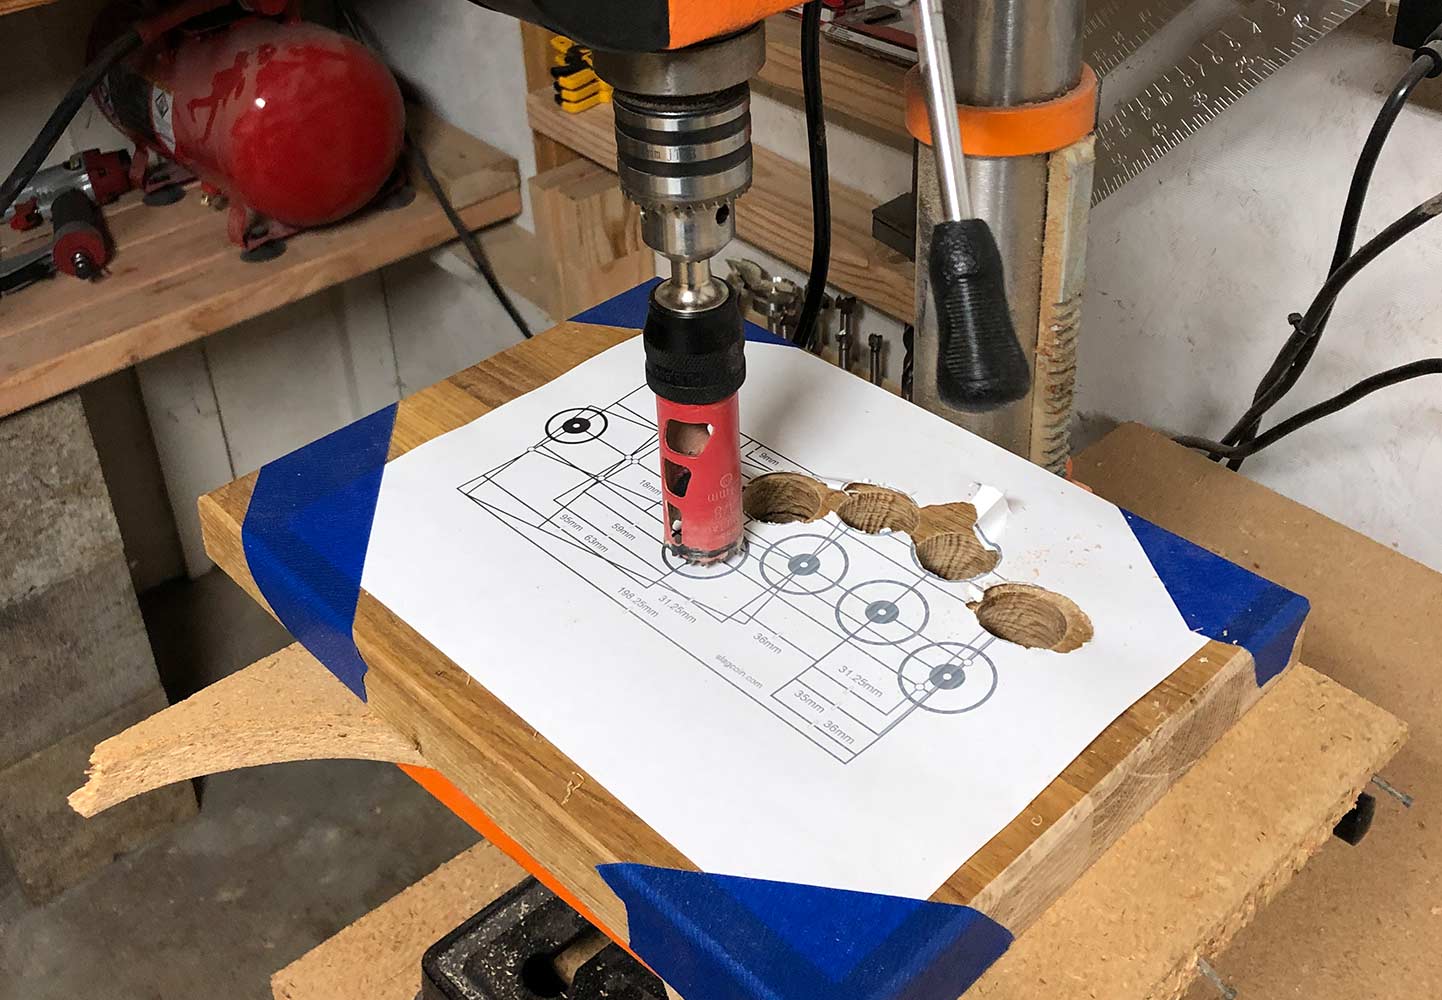
After cutting the butcher block to size, I grabbed my preferred panel layout from Slagcoin and taped it to the top. I went with a Sega-style layout that had extra space between the joystick and buttons. I then used my drill press and a 1 1/8” hole saw ( about 29mm) to drill the holes for the buttons and a 7/8” (about 22mm) hole saw for the joystick.
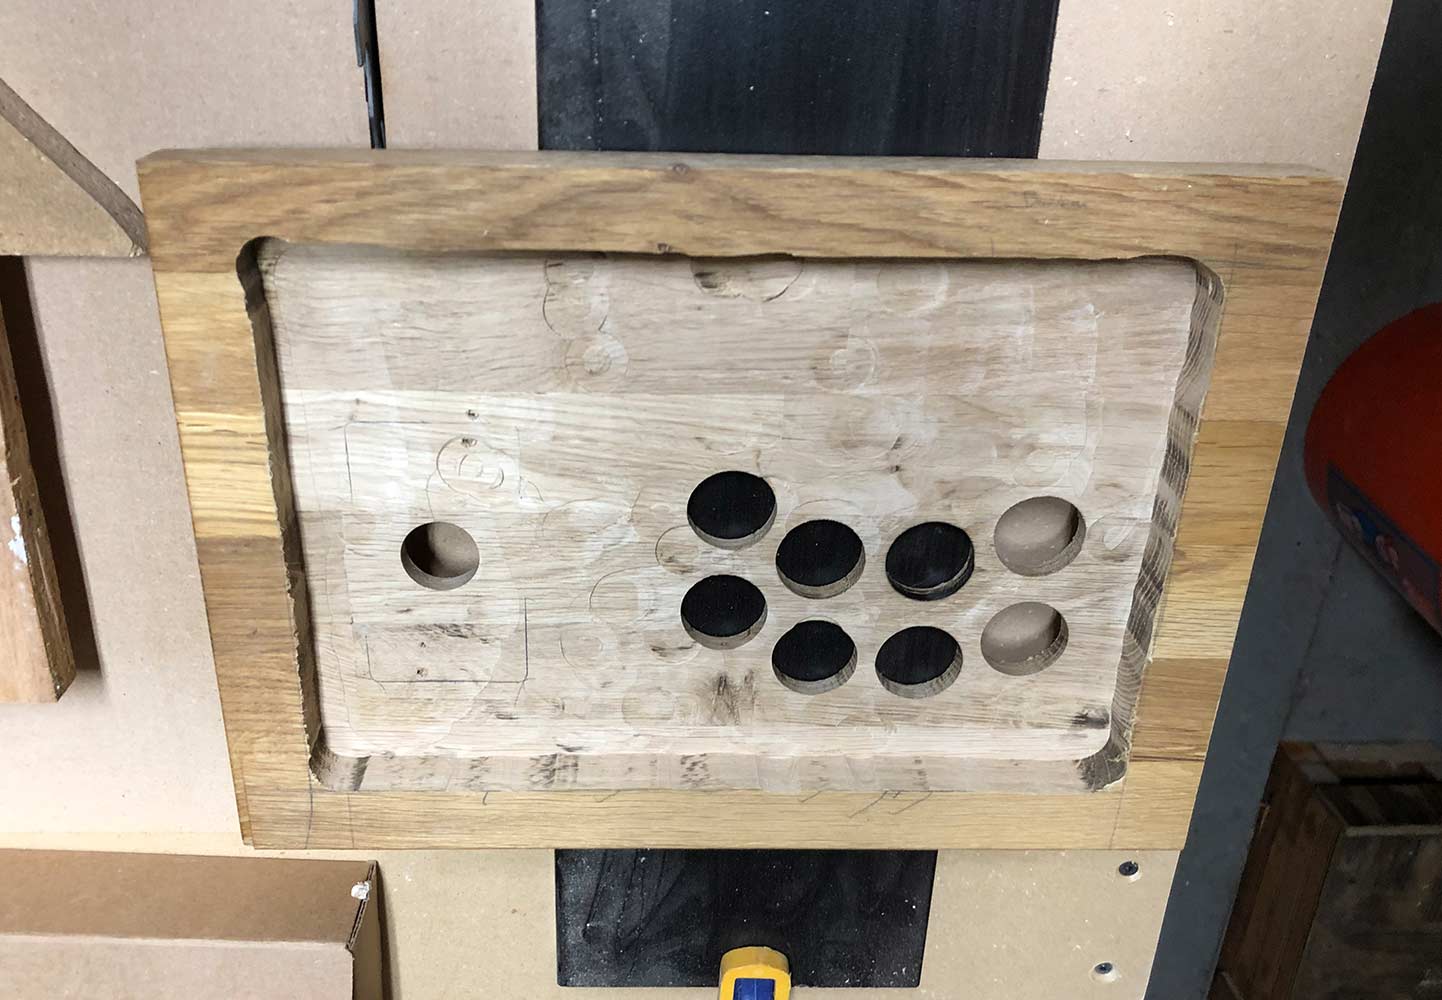
I then used my router to thin out the 1 1/8” thick butcher block to the desired 3/8” thickness inside to allow for the proper range of motion for the joystick. Usually it’s recommended that the distance between the bottom of the joystick ball and the top of the control panel is about 9/10” (23mm). Doing this also gave me more space inside for all the required components.
I assembled a small box out of an extra shelf and drilled the necessary holes for the three front buttons I wanted (Start, Select and Special), as well as the USB port. I didn’t have the necessary 24mm diameter bit for the USB port so I used my 7/8” (22mm) hole saw and used a smaller drill bit to increase the diameter to fit.
After glueing up the box and letting it dry, I assembled all the components inside the box. It was a little tricky to securely mount the joystick into the 3/8” top but I managed to do it using some small screws and extra washers. This gives it a nice clean look without screws in the top.
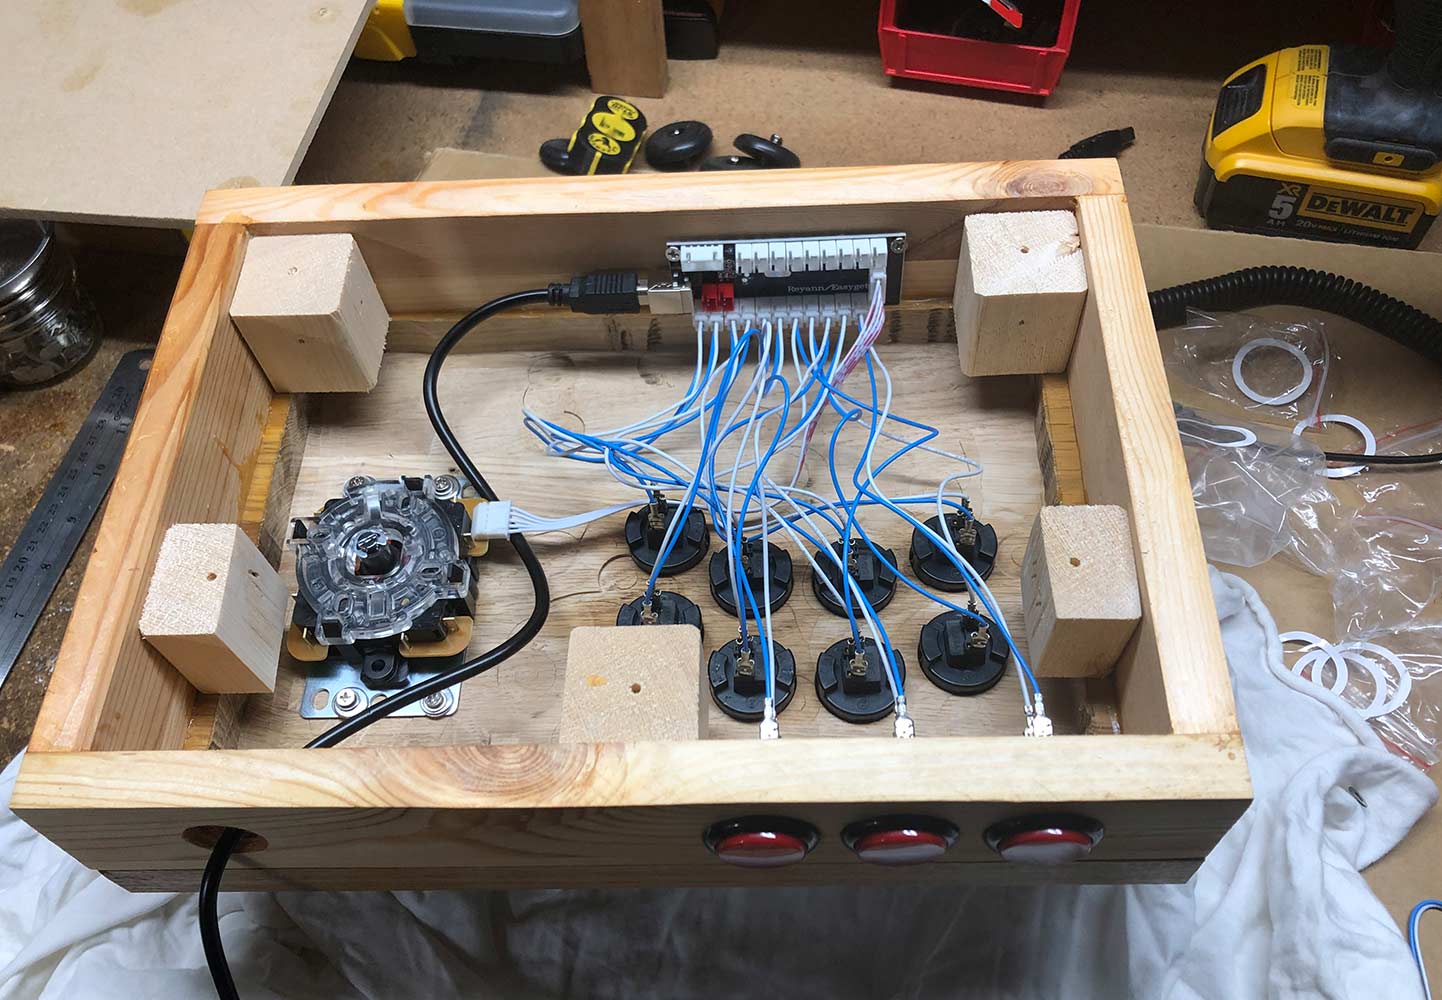
I added some small blocks for the feet and cut a small piece of 1/8” MDF for the bottom cover. This way I can use the feet to hold the cover on so it’s easily removable if I ever need to mess with any of the components. Lastly, I had to order an extra ribbon cable from going between your Joystick and USB encoder. This one worked for me: Female to Female JST XH Adapter. After wiring everything up, I was ready to play!
Playing some games!
Some of my favorite games to play using the new joystick:
- Metal Slug 3 (Neo Geo)
- Dungeons & Dragons: Chronicles of Mystara (MAME)
- Cadillacs and Dinosaurs (MAME)
- Gradius III (MAME)
- Raiden (MAME)