Controlling Wemo Smart Plugs with Arduino
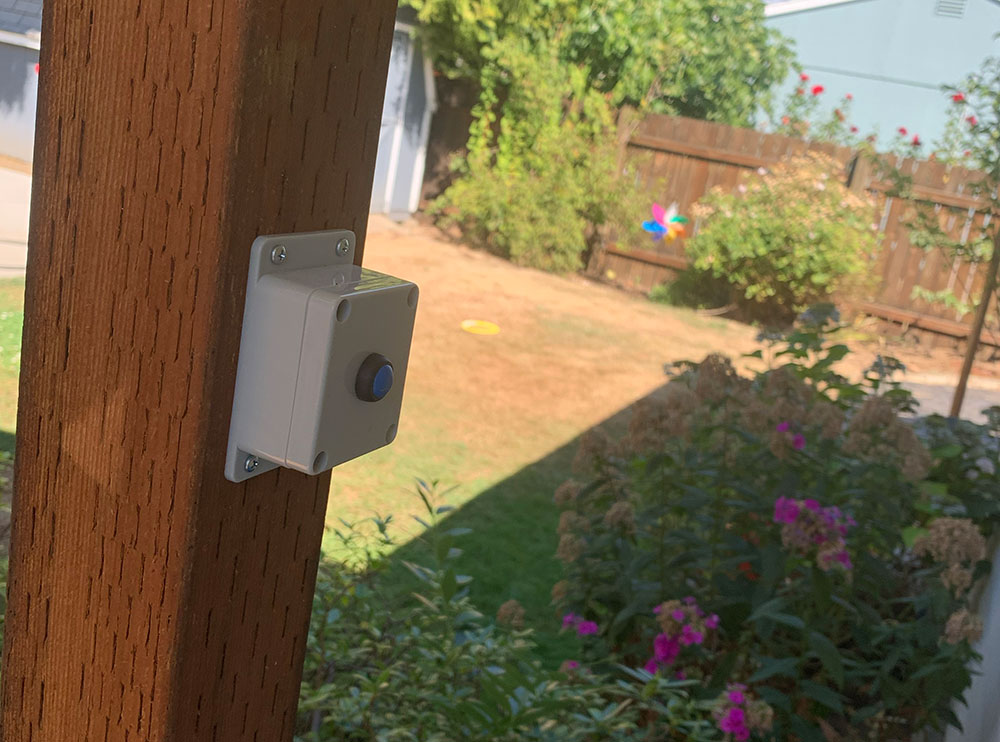
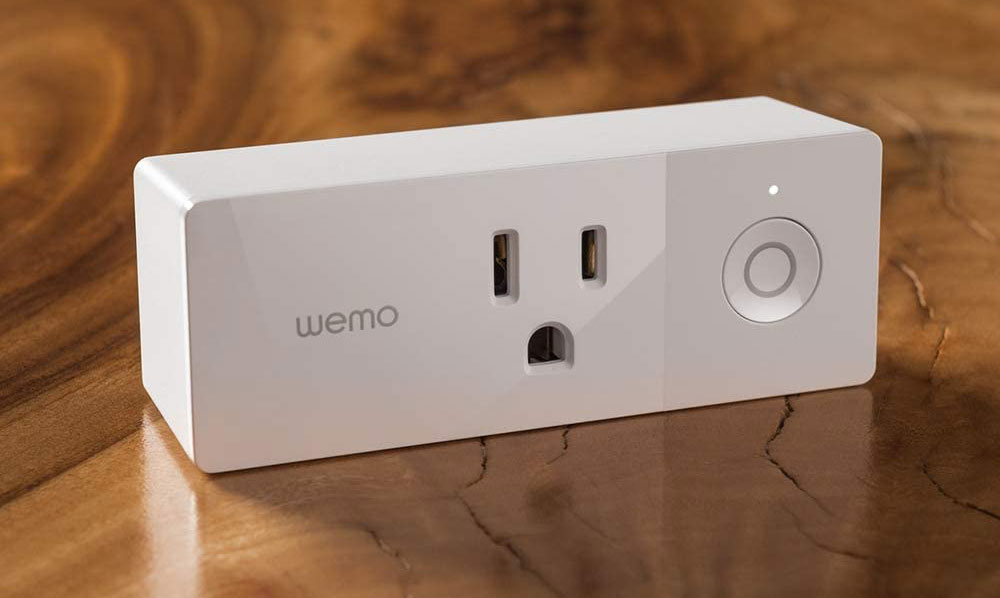
«««< HEAD Smart outlets are great. I’ve owned Belkin Wemo Mini smart plugs for years and used them for controlling lighting and fans. I thought it would be cool to control my Wemo plugs using a physical button (in addition to my phone). In many situations, a button is faster than pulling out my phone and it also allows family and friends to control the outlets themselves.
Smart outlets are great. I’ve owned Belkin Wemo Mini smart plugs for years and used them for controlling lighting and fans. I thought it would be cool to control my Wemo plugs using a physical button (in addition to my phone). In many situations, a button is faster than pulling out my phone and it also allows family and friends to control the outlets themselves.
e3efa0e5869be6eab537bed3ba483aa00e780803
One of the reasons I chose the Belkin Wemo is that it not only supports the standard smarthome platforms but also has a (relatively undocumented) HTTP API that is accessible on the local network (projects like ouimeaux make use of this API). I recently built some Wi-Fi buttons using Arduino/ESP8266, and I realized I could connect some of these buttons to the Wemo API.
Connecting to the Wemo API
To get started, I needed to find the IP of the Wemo outlet I wanted to control. It showed up on the network with a hostname of “wemo” so it was easy to find on my router’s web interface (I use Ubiquiti). If you do have trouble finding it, you can use the “scan mode” feature of the ouimeaux python module. It works very well.
The Wemo API uses unencrypted HTTP so I was able to use Wireshark to run packet captures and see what the HTTP communication looks like. It’s a straightforward XML API that is pretty easy to make sense of. Here is a Postman collection if you want to experiment with it yourself.
To create an outlet “toggle” behavior, I first needed to make an XML Post to get the status of the outlet. That XML looks like this:
POST: http://<WEMO-IP>:49153/upnp/control/basicevent1
Content-Type: text/xml; charset="utf-8"
SOAPACTION: "urn:Belkin:service:basicevent:1#GetBinaryState"

<?xml version="1.0" encoding="utf-8"?>
<s:Envelope xmlns:s="http://schemas.xmlsoap.org/soap/envelope/">
    <s:Body>
        <u:GetBinaryState xmlns:u="urn:Belkin:service:basicevent:1">
        </u:GetBinaryState>
    </s:Body>
</s:Envelope>
Then, I needed to make a second XML Post to switch it on or off. Switching it on looks like this:
POST: http://<WEMO-IP>:49153/upnp/control/basicevent1
Content-Type: text/xml; charset="utf-8"
SOAPACTION: "urn:Belkin:service:basicevent:1#SetBinaryState"

<?xml version="1.0" encoding="utf-8"?>
<s:Envelope xmlns:s="http://schemas.xmlsoap.org/soap/envelope/">
    <s:Body>
        <u:SetBinaryState xmlns:u="urn:Belkin:service:basicevent:1">
        	<BinaryState>1</BinaryState>
        </u:SetBinaryState>
    </s:Body>
</s:Envelope>
Writing the Arduino Sketch
Now that I fully understood the API, I could create an Arduino sketch to make it all work. This is my latest version. If the switch is off, it makes a second request to turn it on. If the switch is on, it makes a second request to turn it off. It’s not the prettiest code in the world, but it works. I’m still learning the C/C++-based “Arduino language” so use it at your own risk ;)
Use Static IP Addresses!
It’s important to set up static IPs for the Wemo plugs and the ESP8266 Wi-Fi buttons themselves. If you don’t do this, your router may automatically assign different local IPs to these devices via DHCP which would prevent them from working.
Also, when you use static IPs your Arduino doesn’t have to do the DHCP handshake process with your router which speeds up the time-to-connect dramatically. For me, using static IPs increased the responsiveness of my Wi-Fi buttons from roughly 3 seconds down to under 1 second.
Conclusion
It’s pretty cool being able to control outlets using physical buttons without an IoT hub or additional server! I even set up a physical Wi-Fi button for my backyard patio lights and it works great :)

